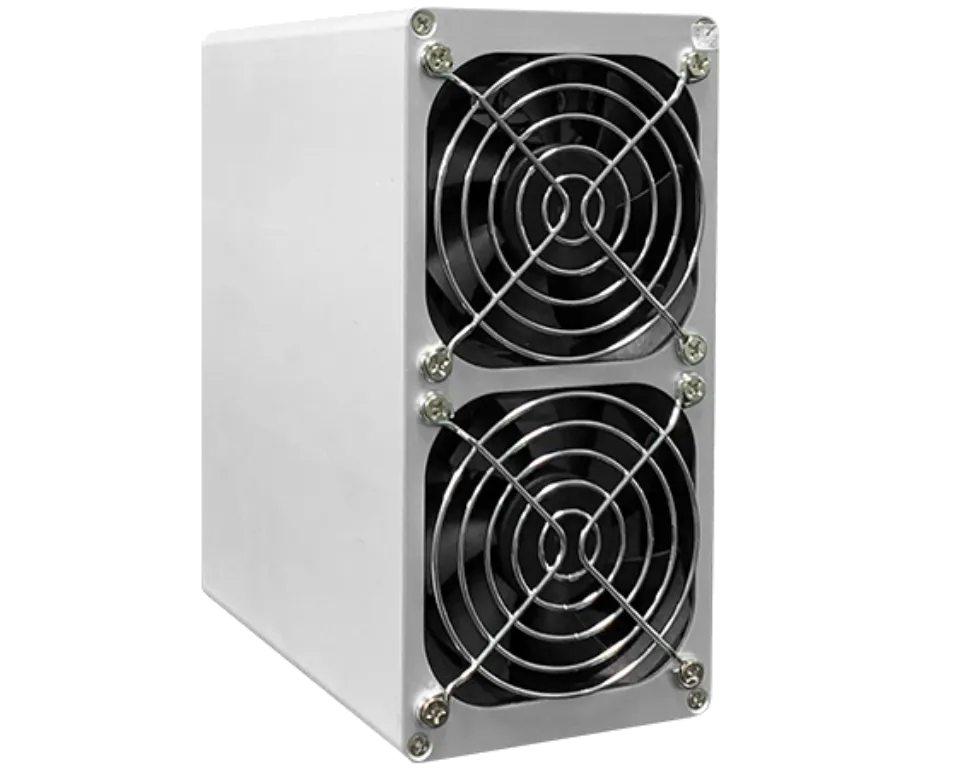
This comprehensive guide provides step-by-step instructions on how to set up and operate the Goldshell HS-BOX mining device. The manual covers essential topics such as performing an initial inspection of the device, preparing the network cable and power supply, connecting the power supply and network cable, getting the IP of the miner and entering the miner’s dashboard, unlocking the miner, and pool setting.
The manual also includes important safety instructions that must be followed to avoid voiding the warranty. By following the instructions provided in this manual, users can maximize the performance and profitability of their Goldshell HS-BOX miner.
Table of Contents
1. Check the Goldshell HS-BOX

- Perform an initial inspection prior to starting the Goldshell ASIC miner.
- Verify the condition of the fans and whether the miner is deformed or otherwise damaged.
- Inspect the miner for any unusual noises and look for any heat sinks that may be coming loose.
- If the aforementioned situation occurs, please take a photo first before submitting a support ticket on the Goldshell website.
2. Prepare Network Cable and Power Supply
- Purchase the Goldshell power supply. 4 Box miners can be powered by it.
OR
- 80 Power supply PLUS GOLD, minimum requirements: 500W ATX Gold PSU, output current 12V 25A or more.
- To avoid short circuits, remember to plug the power supply in the proper direction.
3. Connect Power Supply and Network Cable
- Correct status of indicator
- Power indicator: the red and green lights flash when connected, the red light is off for a short time, and the green light is always on.
- Network indicator: the red and green lights flash when connected, the red light is off for a short time, and the green light keeps flashing.
4. Get the IP of the Miner and Entering the Miner’s Dashboard
Enter find.goldshell.com into your browser. We advise using Google Chrome.
To access the device dashboard, click the corresponding icon in the settings column.

5. Unlock Goldshell HS-BOX
- In the top right corner of the page, you can change the language and unlock the miner.

- The password must be entered after clicking the [unlock] button in the page’s upper right corner. Miner’s factory password is [123456789].

6. Pool Setting
- Unlock your miner.
- Visit the [Miner] page and [Pool Seeting], find the [Add] and click
- Your choice of pool address and port number should be entered along with the miner’s username and password. The Dxpool is used as an illustration pool in the above diagram.


- Wait for the pool to connect successfully, then go to the [Home] page and look at the chart. The pool configuration is successful if you find a hashrate curve.

*Please follow the safety instructions or your warranty may be void.


